 Finder is the file viewer on macOS. It allows users to easily locate files, documents, applications, and more throughout the hard drive. If you’re new to the Mac, it may seem confusing how it all works. In this blog, we will be going over an introduction to using Finder.
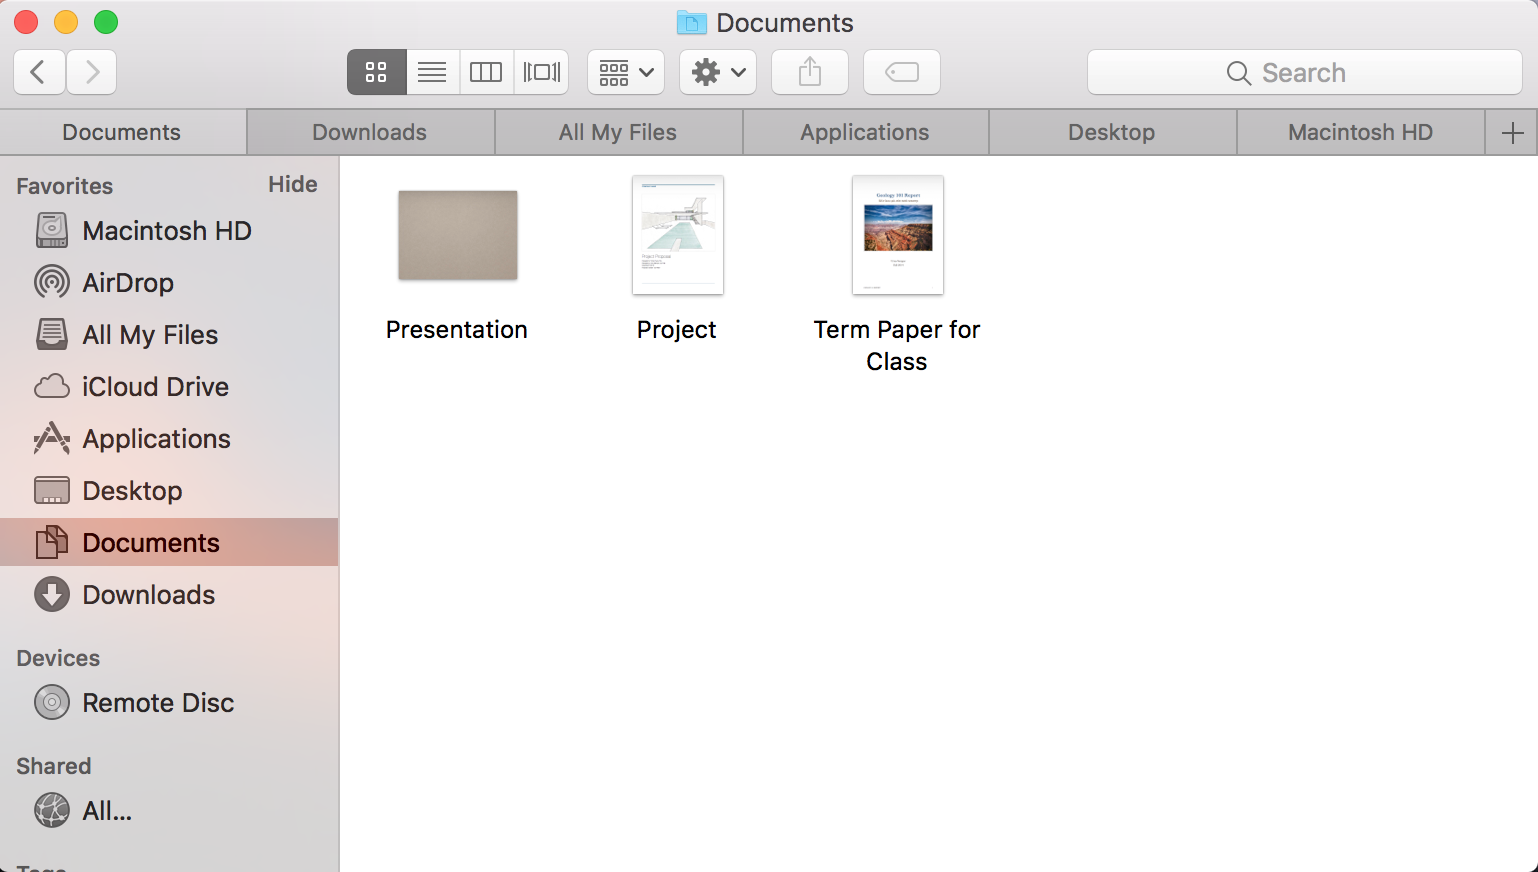
Finder allows users to find their documents with various pre-created folder shortcuts called Favorites on the sidebar. These shortcuts include iCloud Drive, Desktop, Documents, All My Files, AirDrop, Applications, Downloads, and more. The side bar can be customized as you wish by dragging new folders into the side bar or dragging them off the side bar to remove them.
Search
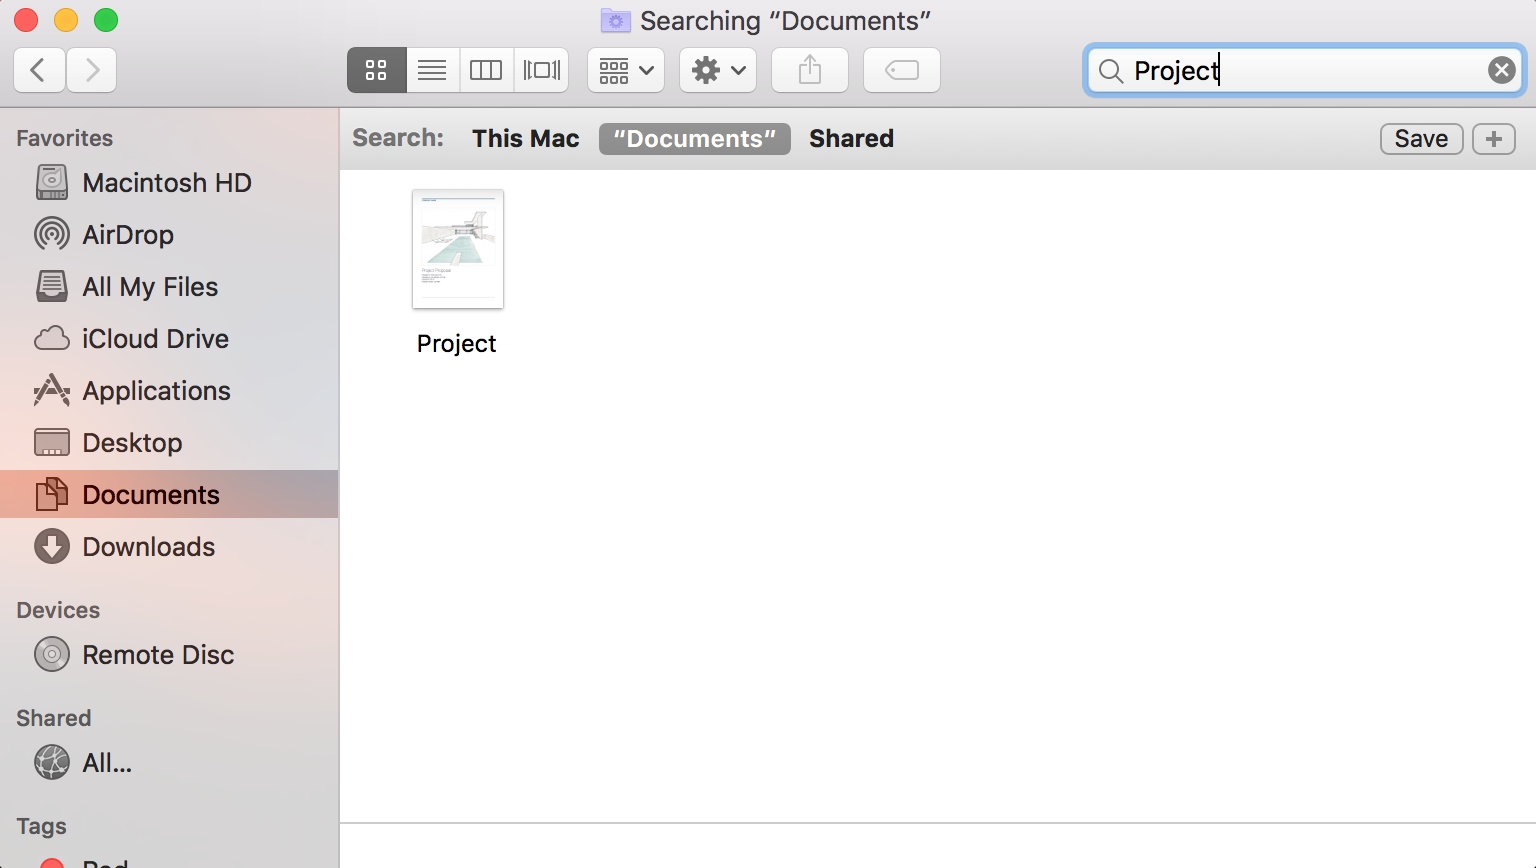
Users can search through Finder to find applications, documents, and files by using the search bar built into Finder. To search, simply type in the name of the application or document you are looking for. You can select if you want to search This Mac or by just the folder you are currently in.
AirDrop
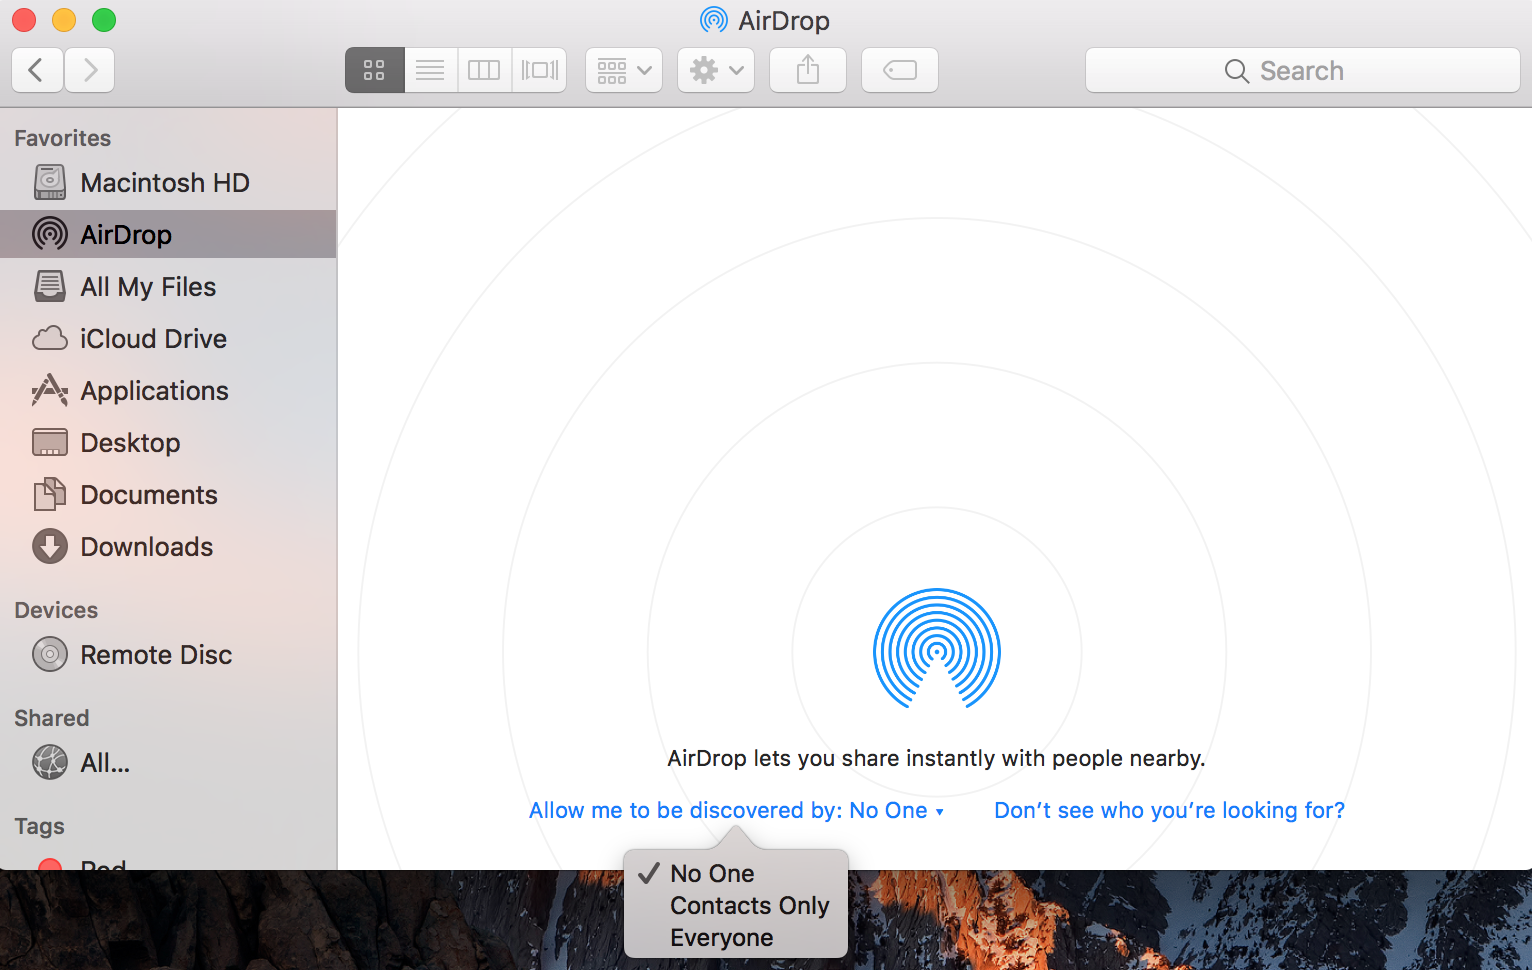
AirDrop allows users to transfer files to other Macs and iOS devices (iPhone, iPad, and iPod touch) without having to email them to someone. Users have to be in close range and both have Wi-Fi and Bluetooth turned on. The receiving user has to have the discovered option turned on to either Contacts Only or Everyone, depending if the sender is in the receiver’s contacts. This can be done by selecting the AirDrop menu in the left sidebar and then changing the AirDrop option as show in the screenshot below.
New Tabs and Windows
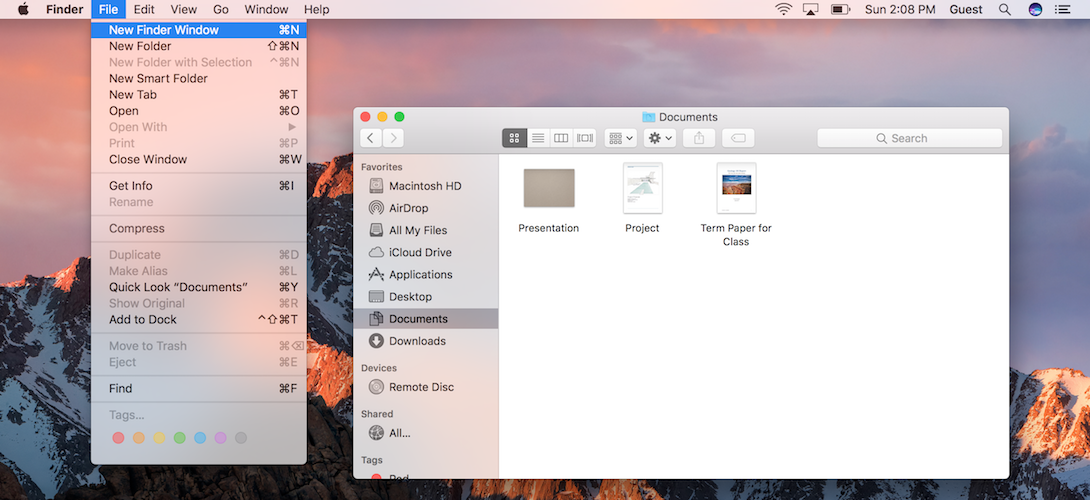
Multiple Finder windows can be open along with multiple tabs in the Finder window. This can be done by going to File and selecting New Finder Window or using keyboard shortcut Command-N. A new tab can be opened by going to File and selecting New Tab or using the keyboard shortcut Command-T.
Different Views
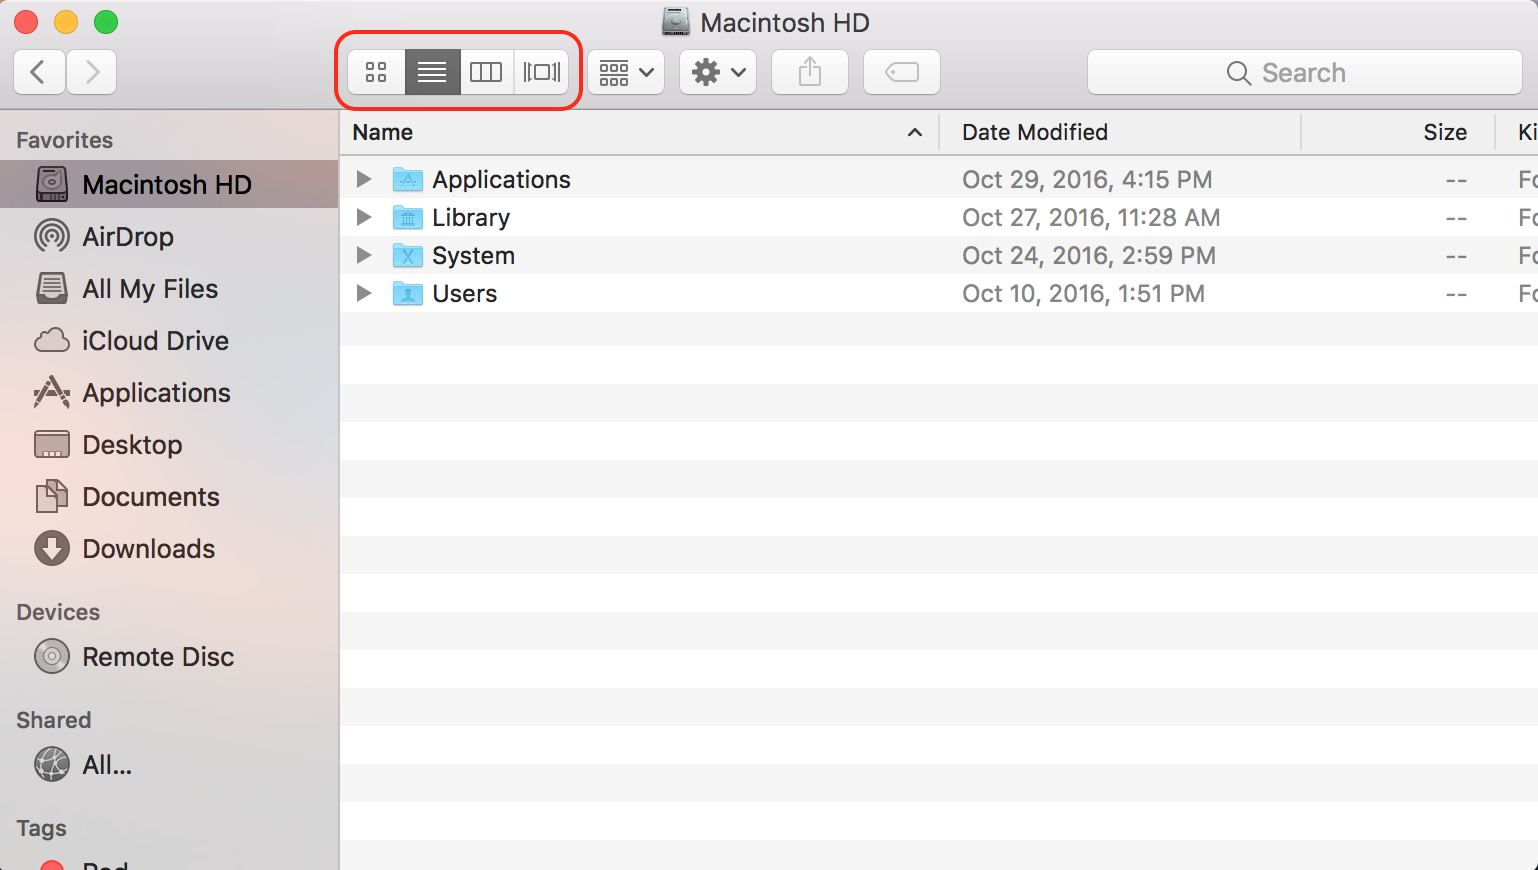
In Finder, users can select multiple different ways to view their content. There are four options: Cover Flow, Columns, Icons, or a List. These can be selected by pressing the icons for the various views.
 Customizing the Toolbar
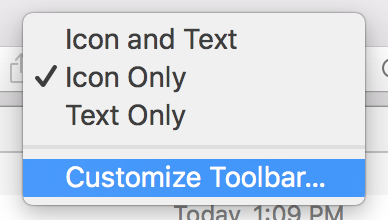
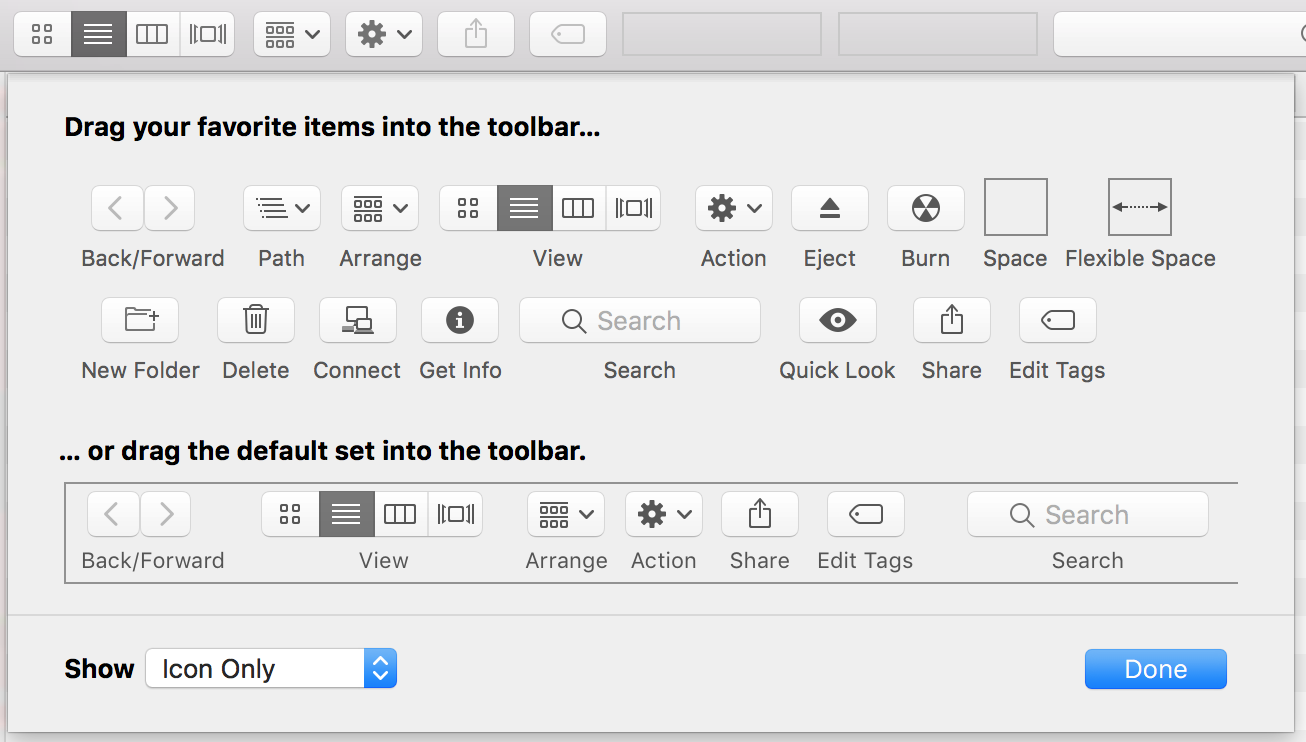
To customize the toolbar, simply just right click on it and select Customize Toolbar. A menu will then appear with multiple options which allow users to drag into the toolbar. Shortcuts in the toolbar allow for easy access for creating new folders, sharing documents, getting info on a file or document, connecting to a server, and more. Once the toolbar is configured, press Done and it will be saved.
Tags
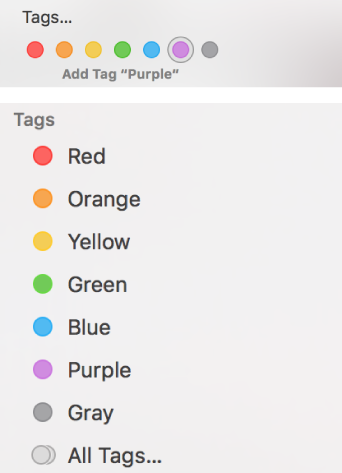
Tags allow users to add a colored tag to documents or files. To add a tag to a document or file simply just right click it and select the correct colored tag. To sort these documents by the colored tag, go into Finder, scroll down on the side bar to the Tags selection. This allows users to only display documents with certain colored tags.
In all, we hope that this helps you if you are new to using a Mac and interested in using Finder. If you have any questions or comments, let us know in the comments below. You can also connect with us on Facebook at facebook.com/WelcomeToCityMac and on Twitter @CityMacTweets.