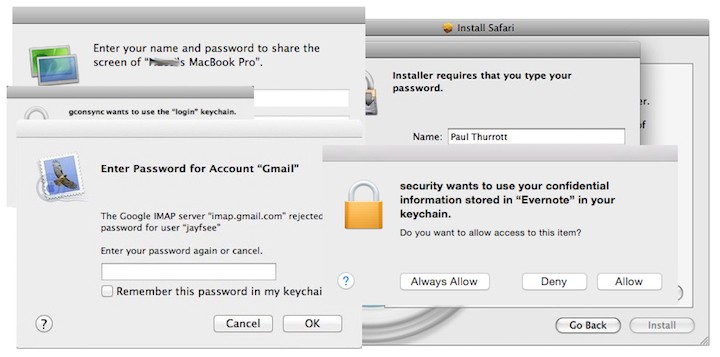
Occasionally, your Mac might prompt you for a password unexpectedly. These prompts and popups can sometimes be difficult to overcome, as your Mac will consistently display them. Here are some of the most common popups that occur and how to get rid of them.
“Your iCloud session has expired" or “Your iCloud Music Library Session has expired” in iTunes
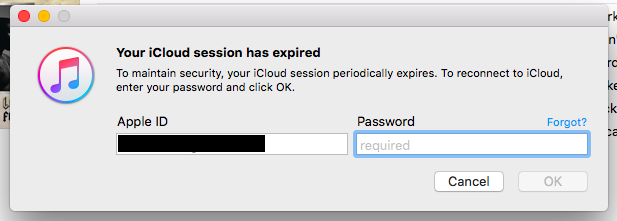
This popup usually occurs for users who cancelled their Apple Music subscription or iTunes Match subscription. The fix is pretty simple:
- Click Cancel on the prompt. If it appears again, just keep clicking Cancel.
- Select your account name, displayed in the upper-right hand corner of the iTunes window, and click Sign Out.
- Quit iTunes.
- Reopen iTunes.
- Click Sign In (where your name used to be) and log in with your Apple ID.
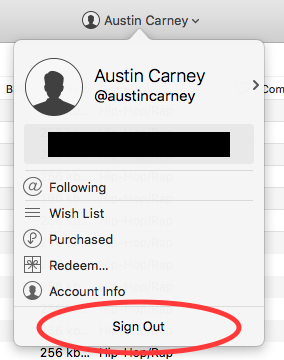
Simply doing this solved the problem for me, please let us know in the comments below if this doesn’t do the trick!
iCloud Password
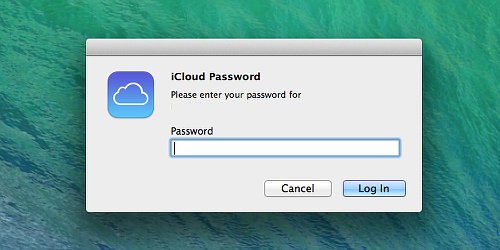
Occasionally, some users will report repeating popups asking for their iCloud Password. This also occurs with Messages and FaceTime. The real confusing part is that these popups often occur even when the user is not trying to access anything related to iCloud.
Usually, the reason this happens is that you changed your password or email address associated with your Apple ID recently (but it could be a variety of reasons).
To fix this, follow these steps:
- Open System Preferences > iCloud.
- If the popup occurs here, just click cancel.
- Click Sign Out in the bottom lefthand corner
of the iCloud preferences window.
- Sign In again using your Apple ID and Password.
- Open FaceTime and select Preferences from the FaceTime Menu at the top of the screen. Sign out and sign in again with the same Apple ID and Password.
Repeat step 5 for Messages.
If you forgot your Apple ID password, go to iforgot.apple.com to reset it.
Software Updates

Unfortunately, there’s no sure-fire way to stop those “Updates Available” notifications from appearing in the top-right corner of your Mac other than just keeping your software up to date! Of course, you can always click and drag the notification out off of the right side of the desktop to temporarily get it off the screen.
If you’re getting popups suggesting you upgrade to the latest version of OS X and you don’t want to for whatever reason, you can right-click on the big update banner in App Store > Updates and click Hide Update.
Keychain Password Popups
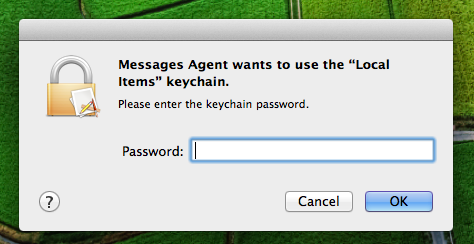
Sometimes, users will be asked for a keychain password from Apple apps that they are unsure of. To fix this, follow the following steps:
- Be sure to backup your computer with Time Machine.
- Open Keychain Access (the easiest way to do this is to press Cmd-Space to launch Spotlight and type “Keychain Access").
- Select the login keychain from the list on the left-side of the Keychain Access window. If your default keychain has a different name, select that.
- If the lock icon in the top-left corner of the window shows that the keychain is locked, click to unlock it. You'll be prompted for the keychain password, which is the same as your login password, unless you've changed it.
- Right-click the login entry in the list. From the menu that pops up, select Change Settings for Keychain "login". In the sheet that opens, uncheck both boxes, if not already unchecked.
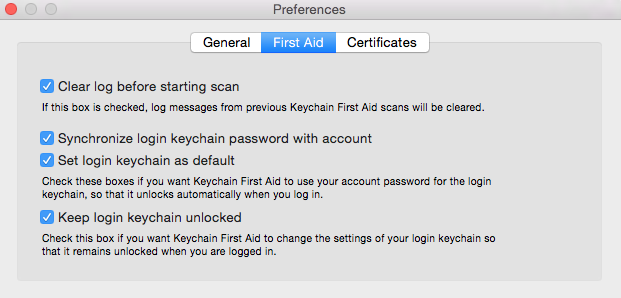
- From the menu bar go to Keychain Access > Preferences and click the First Aid tab.
- If the box marked Keep login keychain unlocked is not checked, check it.
- Back in the menu bar, select Keychain Access > Keychain First Aid. Make sure Repair is selected, type in your computer password, and click Start.
- Once finished, quit Keychain Access.
We hope this helps get rid of pesky notifications and prompts you might be running into on your Mac. Please leave us a comment below if you have questions.