 In today's digital age, photos typically exist as files on your computer's hard drive. If you have a Mac, the Photos application is capable of taking these digital files and creating beautiful photo books.
The Mac Photos App
Photos for Mac was introduced as a part of OS X Yosemite 10.10.3. Apple designed the application to be nearly identical to the Photos app for iOS. Photos is capable of organizing and editing photos as well as creating photo artworks such as greeting cards, calendars and photo books.
Creating a Photo Book in Photos
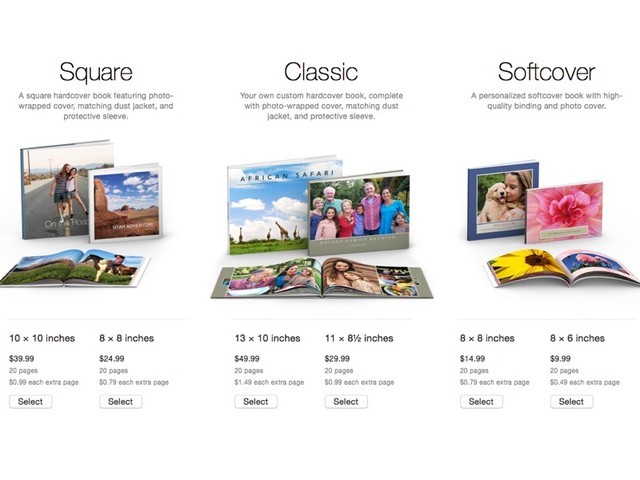
While in Photos, click the + icon near the top-right of the window and select Book to create a new photo book. The following page displays photo book sizing and pricing information. The default book size for each type is 20 pages, but more pages can be added if needed. Click the Select button to create your desired photo book type.
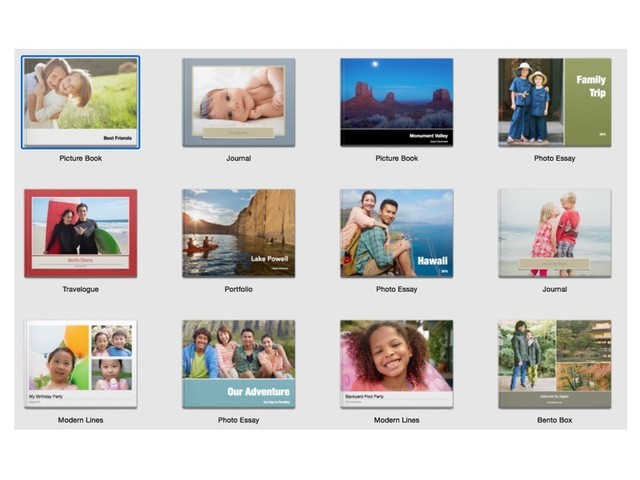
 Next, select a book theme for your photo book. Each theme contains different font, layout and color schemes.
Adding Photos to the Photo Book
After selecting the book theme, the photo book layout displays. Double-click on any page to edit it. A photo selection tool is near the bottom of the window. Click Add Photos to select pictures from the Photos library and add them to the photo selection tool.
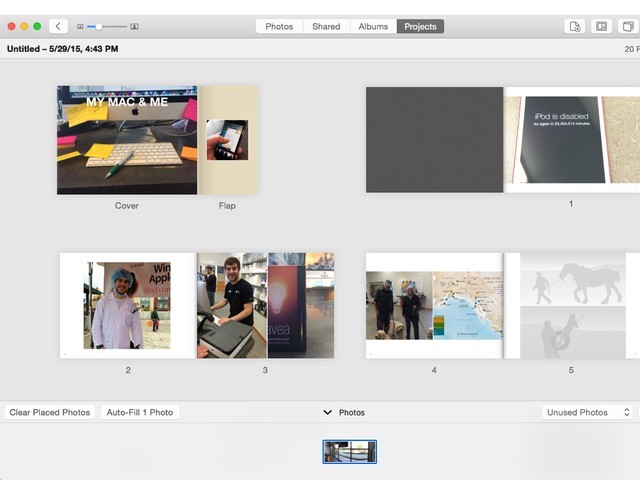
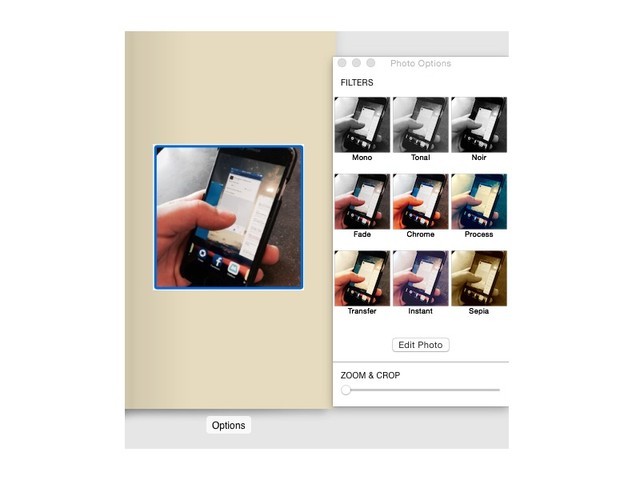
From the photo selector, click and drag a desired photo onto an empty frame of the photo book to add it. Clicking the Options button below a page brings up options to change page layout and color themes. Double-clicking a placed photo displays filter, zoom and crop options.
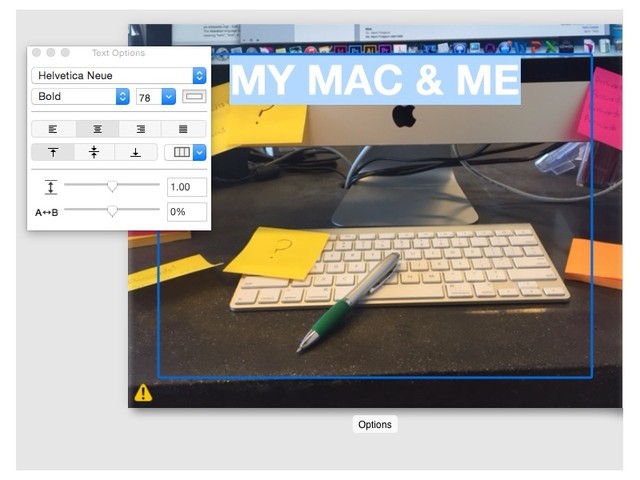
Certain photo book pages contain text boxes. Double-click within these boxes to add text. Highlighting the text displays the Text Options box, which contains options for bold, italics, font size, color, alignment and more.
Use the arrow keys on the keyboard to navigate back and forth between photo book pages. Click the < icon near the top-left of the Photos window to return to the photo book layout screen.
Saving and Purchasing Photo Books
Photo books automatically save as you create them. Double-click on the Projects tab at the top of the Photos window to return to the projects workspace where you can rename your photo book.
Upon finishing a photo book, click Buy Book in the top-right of the photo book layout screen to publish and purchase one or more copies of your photo book.