The camera app on iOS 8 has some incredible features to help you capture the best possible photo. Let’s take a look at how you can use them to improve your iPhone photography skills.
Display a Grid
A great way to frame your shot is using the rule of thirds. This is easy to do on iPhone by enabling a grid that divides the screen into thirds, both vertically and horizontally. To enable the grid, navigate to Settings > Photos & Camera. Enable the Grid toggle near the bottom of the screen.

Now, the Camera app will display light gray grid lines. Try to put the subject of the photo along one of these lines. For landscape shots, it often looks best to have the horizon on the uppmost line.
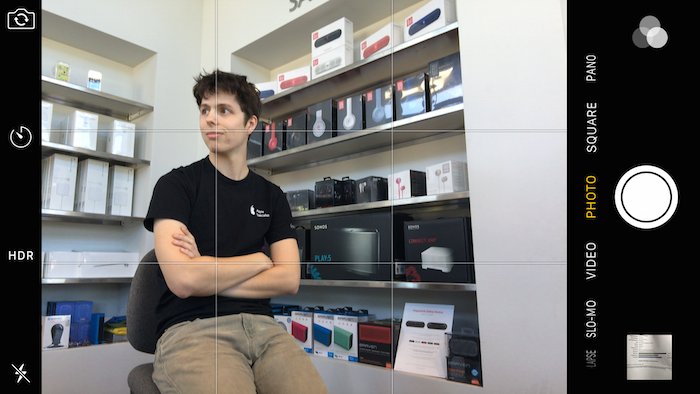
![]() Shoutout to Ben, one of our service technicians, for modeling.
Shoutout to Ben, one of our service technicians, for modeling.
Use HDR Mode
HDR stands for High Dynamic Range. HDR takes three separate exposures and blends the best parts from each of them into a single photo. The result is a brighter, more vivid photo. HDR mode works great for capturing bright skies (making them blue, rather than white), sunsets and taking portraits with a bright background.

To enable HDR, the HDR button on the top bar of the Camera app and choose between Auto, On, and Off. In Settings, you can choose whether or not to save the normal photo along with an HDR version.
Manually Adjust Exposure and Focus
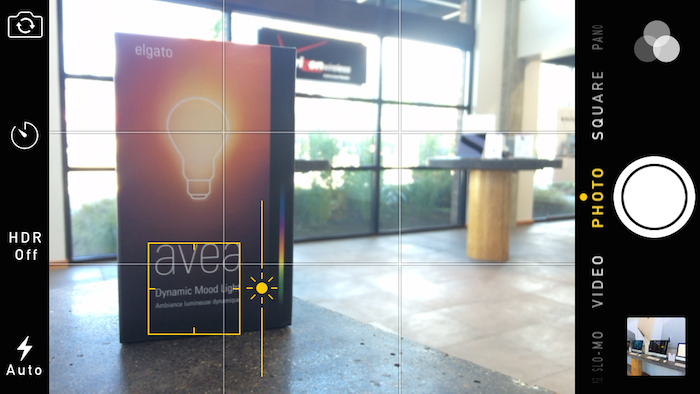
Your iPhone’s camera will adjust auto-focus and auto-exposure for you, but you can do it manually if you want. Simply tap on the screen to choose where you’d like to focus. You’ll see a small sun icon right next to the focus box that appears. Drag the sun icon up or down to increase or reduce exposure (make it brighter or darker), respectively.
Lock Exposure and Focus
Rather than just a tap, tap and hold on the Camera screen to enable AE/AF lock. This will prevent iPhone from re-focusing and re-exposing when you move the camera to a different area. When enabled, you’ll see AE/AF LOCK in a yellow box at the top of the screen. To remove the lock, simply tap anywhere else.
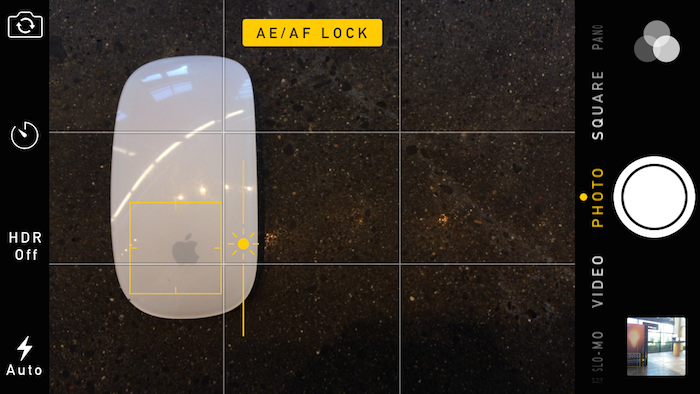
AE/AF lock can be used to do some creative effects. For example, you can lock the exposure to something in the foreground (right in front of you) and then point the camera at the background to make it blurred. Or, lock in the perfect exposure to capture a sunset without worrying about the iPhone auto-focusing.
Use a Filter
Popular photo apps like Instagram (and even the built-in photos app) allow you to add a filter after you’ve taken the photo, but iPhone can shoot using a filter right away if you’d like. Simply tap the filters icon (three intersecting circles) to the right of the shutter. There are nine filter options: tap one and you’ll see the changes right away as you’re shooting.

Remember to go back to None when you’re done using the filter, otherwise it will still be applied next time you open the camera!
Use Olloclip
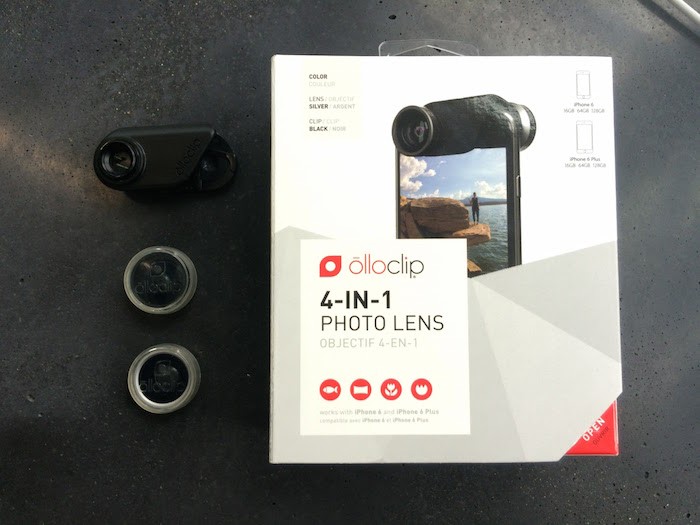
The Olloclip is a 4-in-1 lens adapter for your iPhone. It consists of a wide-angle, fisheye, 10x and 15x macro lens. Olloclip attaches securely over the camera lens of your iPhone and leaves you with stunning photographs. The macro lenses are perfect for up-close photography of small objects such as flowers and insects. The wide-angle lens provides you with nearly double the field-of-view as a regular iPhone photo without noticeable distortion. If you want to expand your iPhone photography horizons, give Olloclip a shot!
Buy Olloclip for $79.99 at CityMac Online
Take a Panorama
iPhone has an incredible panorama feature built in which allows you to capture a wider field of vision. Most use this feature to capture beautiful landscapes. To start, swipe twice to the left until you reach Pano. You’ll need to hold your iPhone in the portrait orientation. Tap the shutter button to start the pano, and move continuously following the arrow. For best results, try to keep the arrow centered on the yellow line. When you’ve captured everything you wanted, press the shutter button again (which is now a stop button).
iPhone will automatically start the panorama on the left side, but you can tap on the small photo next to the arrow to flip it to the right side. Notice how in the screenshots below (one before starting the pano and one mid pano) we have flipped the pano to start on the opposite side.Panoramas stitch multiple photos together automatically, giving you up to 43MP images. This means they are much higher quality than the regular photos your iPhone takes. Here’s a few examples of panorama shots I’ve taken with iPhone over the last few months:

Clark’s Point in Bellingham, WA
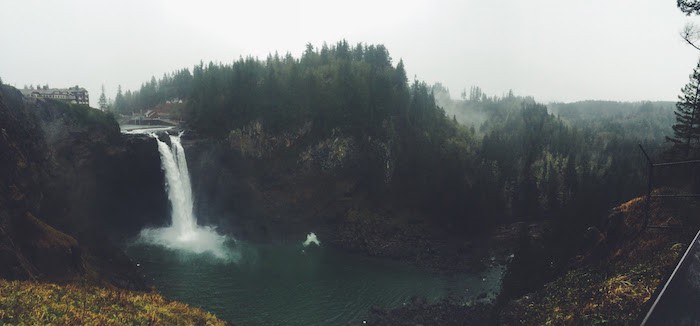
Snoqualmie Falls
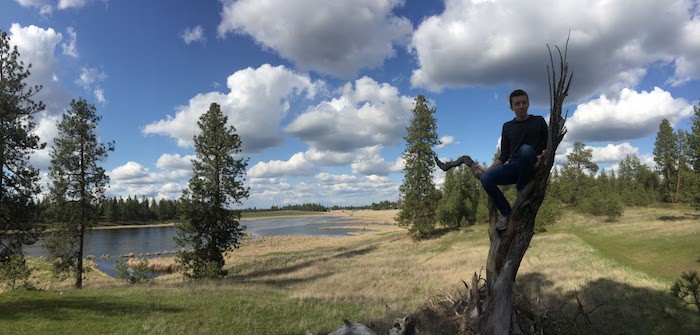
Spokane, WA
Use the Volume Up Button
If you’ve ever owned a point-and-shoot camera, you might miss the satisfying feeling of physically pressing the button for every photo. Luckily, iPhone lets you press the volume up button to take a photo. This feature also helps your shots stay in focus, since sometimes tapping the screen can bump the iPhone a bit.
If you have any questions/comments regarding iPhone Photography, I’d be happy to help. Feel free to reach out to me on twitter @austincarney or on Instagram @austinjcarney. And don’t forget to follow @TD_Curran for tech tips, new products, Apple news, and much more!
Do you have any other tips? Let us know in the comments below, and hashtag your instagram photos with #tdcurran so we can see what you create!